Backflow Inspection Billing
Backflow Inspection Billing will require the following key steps to insure proper tracking:
- We will create a Backflow Case on all applicable addresses using our Case Management software.
- An Inspection will be created and scheduled on the B & F Technical Solutions Inspector Calendar.
- When the Inspection results are provided by B & F, we will add a “Citation” (acting as the Backflow Inspection Bill) to the inspection.
- We will result the inspection and schedule the follow up inspection for the following year.
- We will create and post an Inspection Billing Batch at intervals of your choosing (Daily, Weekly, Bi-Weekly, etc). This will gather the Inspection Bills into a batch that can then be sent to Finance for Invoice Processing.
- The finance department will create the Invoices, mail them out, and manage the incoming payments.
Note: Once a case is created for an address, it can be used forever, or closed when backflow inspections are no longer necessary
-
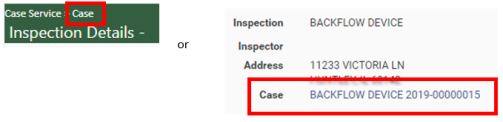
Navigate to Add Case:
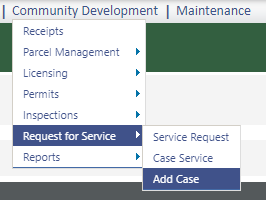
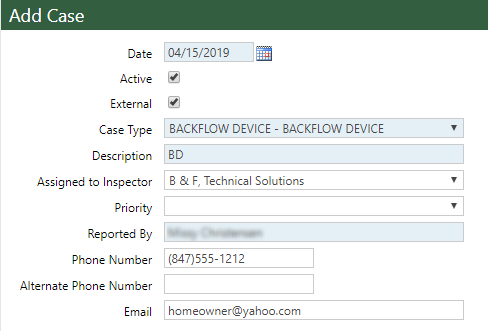
On the left side of the page:
- Select BACKFLOW DEVICE from the Case Type drop-down.
- The Description field is required; enter something (in my example I entered BD for Backflow Device) in this field.
- Select B & F Technical Solutions from the Assigned to Inspector drop-down.
- Ignore the Priority drop-down.
- The Reported By field is required. Enter your name in this field.
-
If you have any Phone Number or Email info for the homeowner, enter them in those fields. These fields are never required:
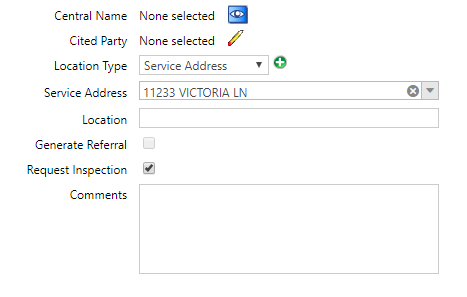
On the right side of the page:
- Ignore the Central Name and Cited Party options.
- Select Service Address from the Location Type drop-down.
- Start entering the address in the Service Address field. It should auto-populate once enough data is entered.
- Ignore the Location field.
- Ignore the Generate Referral check-box.
- Leave the Request Inspection box checked.
-
Feel free to enter anything you might feel is relevant in the free-form Comments box. This is not a required field:
-
Click Next when finished.

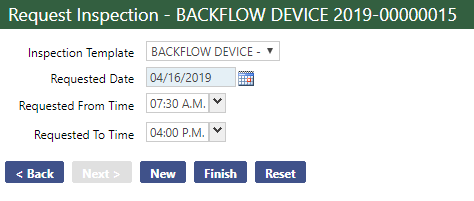
On the Request Inspection page, do not change anything. Ignore the dates and times (they do nothing) and click Finish.
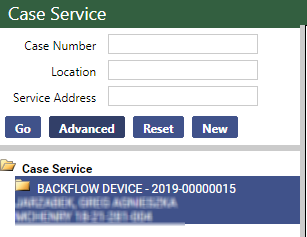
Your Backflow Case is now created. The system will take you to the Case Service search page.
-
Highlight your new backflow case by clicking on it:
-
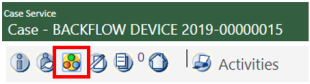
You will see an Edit pencil on the right side of the screen. Click on it:

-
Click on the Activities bubble (3rd from the left):
- You will see a Created inspection in the Activity list. Click on the Inspections link.
-
This will take you to the Inspection Detail screen. We can schedule or result inspections from this screen. In this case we want to schedule so click on the Schedule Inspection button:

-
The Schedule Inspection window will open. Select a Date, Time of Day (I recommend the Anytime option for these) and select B & F Technical Solutions in the Inspector drop-down:
Note: The window will show you an inspection grid for B & F for the date selected. You can determine how busy B & F will be by scrolling across the grid. If there are too many inspections for the chosen date, pick a different date.
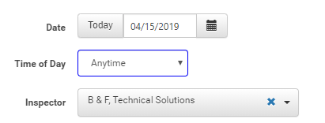
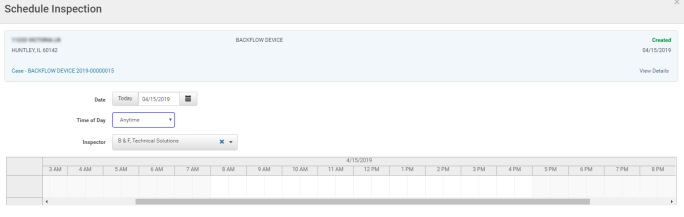
Click on the Schedule button when finished:
-
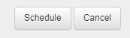
Return to your case by clicking on the Case breadcrumb at the top left or the Case link near the top of the screen:
When B & F provides the results of the inspection, you will need to access the case, result the inspection, schedule the follow up and add the Citation that represents the Inspection Bill.
-
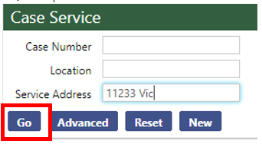
Navigate to Case Service:
-
Enter part or all of the customer address in the Service Address search field and click Go or press <Enter> on your keyboard:
-
Highlight your backflow case by clicking on it:

-
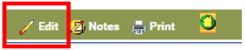
Click on the Edit pencil:
-
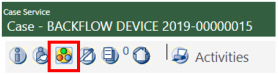
Click on the Activities bubble (3rd from the left):
- You will see the Scheduled inspection in the Activity list. Click on the Inspections link.
-
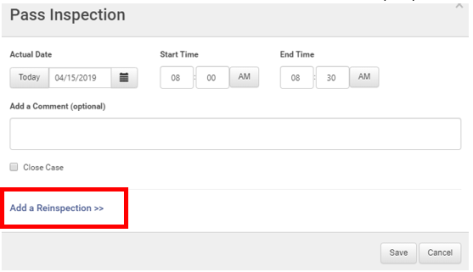
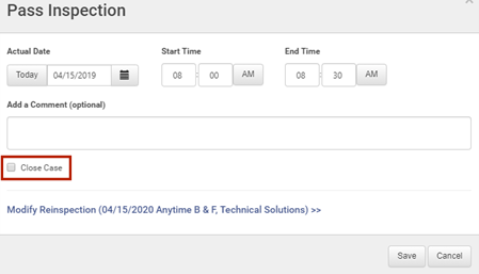
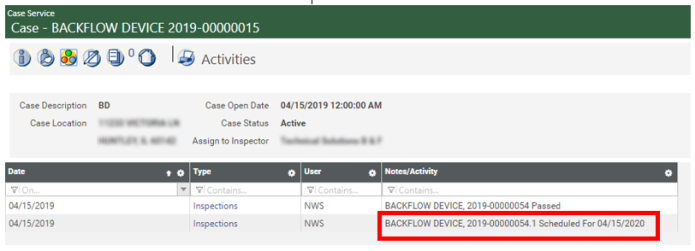
This will take you to the Inspection Detail screen. To Pass the inspection click on the Pass button. The Pass Inspection window will open:

-
Click on the Add a Reinspection link to schedule the follow-up inspection for next year:
-
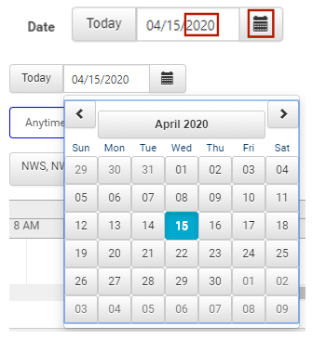
The Create Reinspection window will open. Change 2019 to 2020 (ie. the following year). Then click on the small calendar icon to see what day of the week your follow up inspection falls on. You can change the date if it falls on a weekend:
-
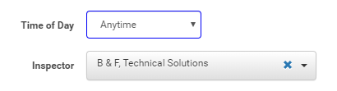
Insure the Time of Day is Anytime and the Inspector reads B & F Technical Solutions:
Note: The window will show you an inspection grid for B & F for the date selected. You can determine how busy B & F will be by scrolling across the grid. If there are too many inspections for the chosen date, pick a different date.
Click OK when finished.
-
When you return to the Pass Inspection window, click Save.
Note: Do not click on the Close Case checkbox. This case should remain open indefinitely.
-
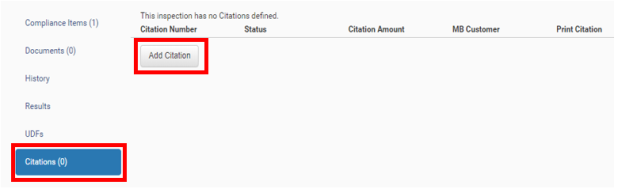
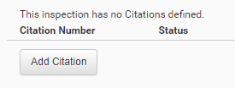
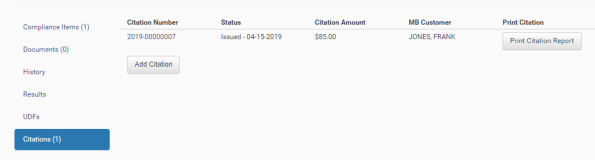
This is where the cost of the inspection will be flagged. Click on the Citations link on the lower left of the Inspection Details screen:
-
Click on the Add Citation button:
-
Determine if the Owner of the Property is already a Miscellaneous Billing Customer by searching for the customer in the Customer to be Billed field:

-
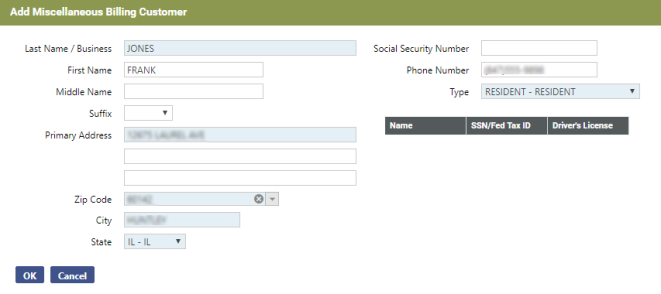
If you do not find your customer, click on the Add New MB Customer. Fill in the appropriate details and click OK when finished. Note: Blue shaded fields are required:
-
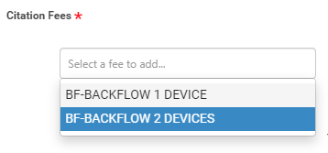
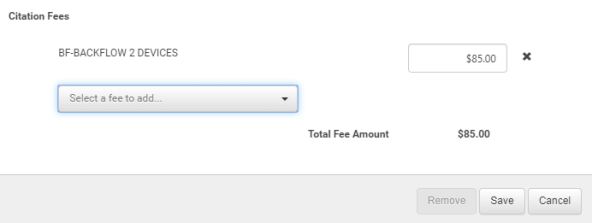
Click on the Citation Fees drop-down and select the 1 Device or 2 Devices Charge. Click Save when finished:
-
Your Citation link will now have a (1). If you highlight it, you will see your citation details. No further work is required. You may breadcrumb back to your case or use the menu to continue elsewhere in the software:
This process will show you how to gather all unprocessed citations in a batch. Once posted, this batch will then be delivered to Finance for Invoice creation and Invoice tracking.
-
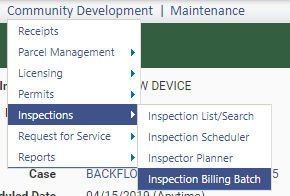
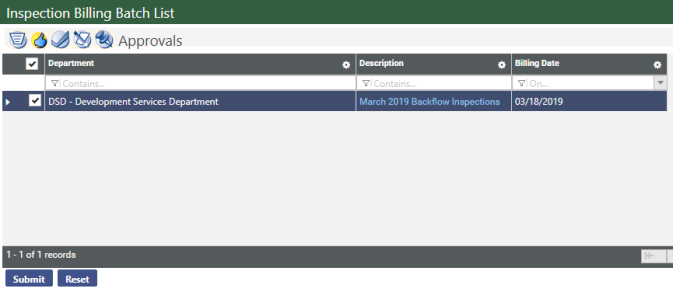
Navigate to Inspection Billing Batch:
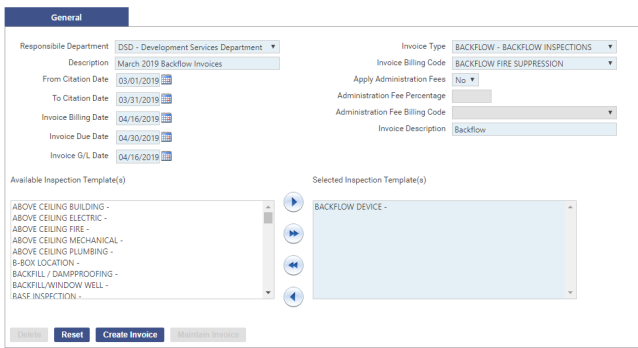
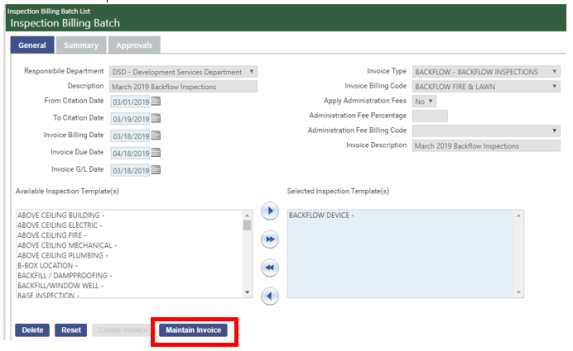
- There are several fields to manage within the Inspection Billing Batch:
- Responsible Department – This will default as the DSD.
- Description – Give the batch a name, like “March 2019 Backflow Invoices” or “Backflow Invoices 4/15-30/2019”. It’s a free form field.
- From Citation Date – Select the beginning date that you want to gather citations from.
Note: You can go back as far as you want in time. You don’t want to miss a citation because of date gaps. Any previously processed citations will not appear in a new batch.
- To Citation Date – Select the end date that you want to gather citations from.
- Invoice Billing Date – recommended that the default is used.
- Invoice Due Date – If this is being printed on the invoice (Access the invoice template to see what detail is being merged into the backflow invoice document) you will want to be accurate with your organizations policy regarding due dates.
- Invoice G/L Date – recommended that the default is used.
- Invoice Type – Select Backflow Inspections from the drop-down.
- Invoice Billing Code – Select Backflow Fire Suppression from the drop-down.
- Apply Administration Fees – Ignore this.
- Administration Fee % – Ignore this.
- Administration Fee Billing Code – Ignore this.
- Invoice Description – Ask Finance what should go here; otherwise, enter Backflow in this required field.
- Move BACKFLOW DEVICE to the Selected Inspection Template field by double-clicking on it.
Click Create Invoice when finished:
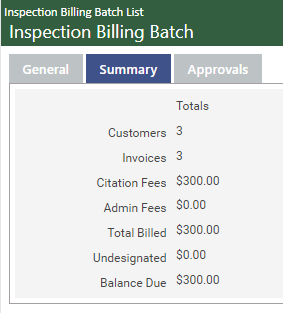
If desired, click on the Summary tab to get a high-level view of the invoices in this batch:
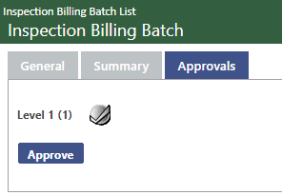
If desired, click on the Approvals tab and get the workflow started by approving the batch:
Note: You can manage this step from the general workflow bubbles when you are ready to post. You do not need to approve your batch here.
To view a more specific list of the Backflow Invoices, return to the General tab and click the Maintain Invoice button:
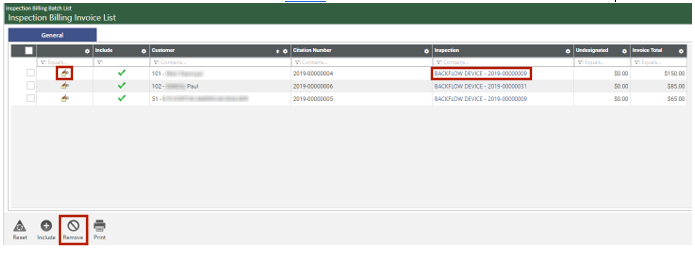
From here you can click on the hand icon to view more detail, the Inspection link to access the inspection. Highlight a row and click Remove to remove and invoice from the list:
Note: The Print button on this screen is for printing a unique Mail Merge citation form. In Huntley, Finance will be producing these from an Invoice Billing Batch so this Print button should not be used.
-
From the Maintain Invoice screen, click on the breadcrumb to return to the Inspection Billing Batch List:
-
Click on the Approval button, click on the check box to highlight the batch and click Submit:
-
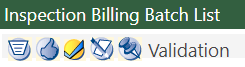
Click on the Validation button, click on the check box to highlight the batch and click Submit:
-
If desired, click on the Print Edit & Error Listing button, click on the check box to highlight the batch and click Submit. Retrieve the report from myReports. This step is always optional:

-
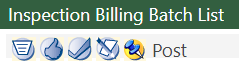
Click on the Post button, click on the check box to highlight the batch and click Submit:
This will deliver the batch to the Billing Invoice Batch list for processing by Finance.
Inevitably there will come a time when a property will no longer require a backflow inspection.
-
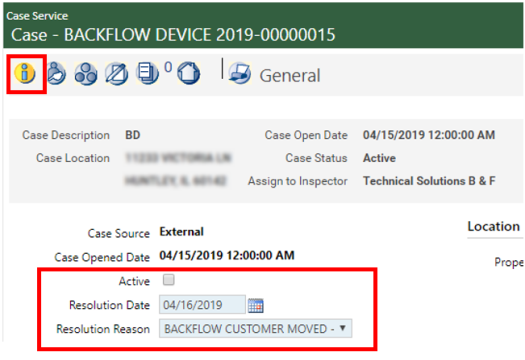
Navigate to Case Service and use the search to locate the Backflow Case on the property. Highlight the Case and click the Edit pencil:

-
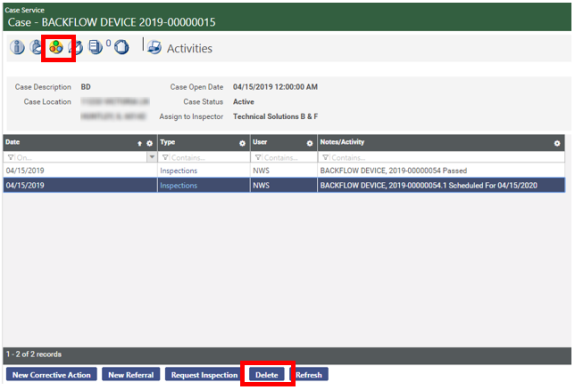
Click on the Activities bubble. Determine if there are any Created or Scheduled inspections in the list. These must be removed in order to close the Case:
-
Highlight the inspection you want to remove and click Delete:
-
Return to the General bubble. Uncheck the Active checkbox, add a resolution date and select BACKFLOW CUSTOMER MOVED resolution reason. Click Save when finished.