Content Manager Migration
This guide shows you how to use the Content Manager Migration Tool for migrating New World ERP documents from file storage to Content Manager. This tool is packaged alongside the installer but is not installed with the software.
Migration steps
In the following steps, the Content Manager server URL and application server will be selected, the New World ERP database will be selected for migration, a query will be run to review how many and what types of documents will be migrated, and the migration itself will be run.
- Open the installer folder. Example folder: {Install Drive}\Octopus\Applications\{Instance Name}\NWERP.TcmMigrationTool\19.1.0.1-2019_1\TcmMigrationTool.Client This folder contains the migration tool:
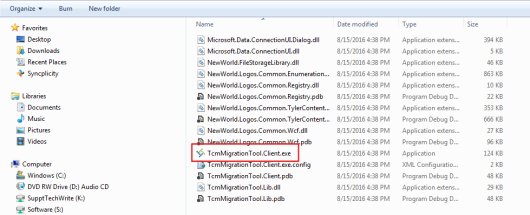
- Double-click the TcmMigrationTool.Client.exe file. The Content Manager Migration Tool dialog will open:
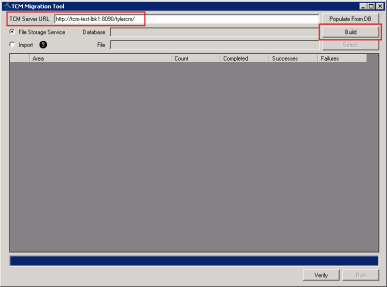
- Fill in the TCM Server URL.
The Populate from DB button brings in the Content Manager server if the database already is configured to use Content Manager. Most of the time, Content Manager will be configured after the migration.
The Import radio button is not for New World ERP file storage conversions; it is for new or existing customers using third-party document management systems. If you need more information on this function, click the question mark icon to the right of the radio button label.
- Click Build. The Connection Properties dialog will open:
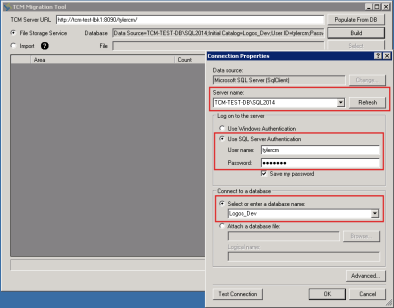
- Fill in the New World ERP SQL Server name.
- In the Log on to the server section, fill in the SQL Server Authentication User name and Password.
- In the Connect to a database section, select the New World ERP database from which documents will be pulled.
- Click Test Connection. This function will test the connection to the ERP database, which is not hosted on the application server. A pop-up will notify you of the results of the test connection:
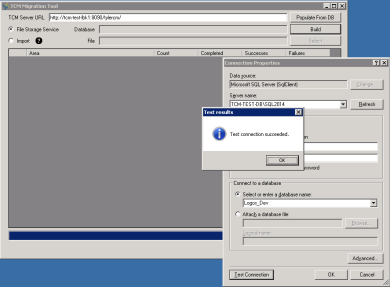
- Click OK to close the pop-up.
- On the Connection Properties dialog, click OK. The dialog will close, and the Database field will be filled in:
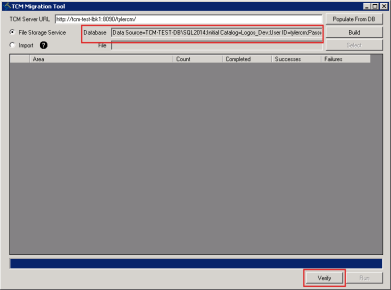
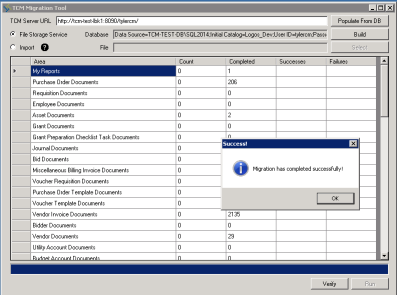
- Before running the migration, click the Verify button to query the database and show how many documents will be converted per document type. The query results will include document types with zero documents. As the query runs, a progress bar will show the percentage completed and the time remaining:
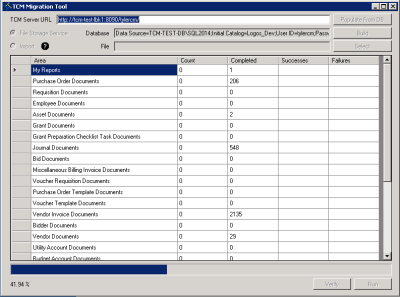
When the query finishes, the Run button will be enabled:
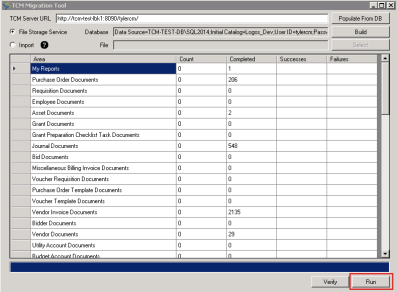
- If you are satisfied with the results of the query and ready to run the actual migration, click the Run button.
The Content Manager Migration Tool will track all documents as they are migrated. You can find these documents in the New World ERP database selected in step 5 above. Use SQL Management Studio to log into the database using the same credentials entered in step 6 above.
During the migration, a Stop button will appear next to the Verify button:
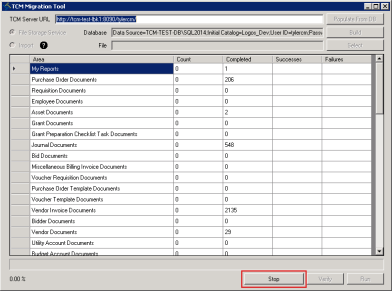
Click this button if you want to stop the migration and resume at a later time.
The estimated remaining time of the migration also will display at the bottom of the Content Manager Migration Tool dialog.
A pop-up will notify you when the full migration has completed:
If errors occurred in the migration, a Show Errors button will display:
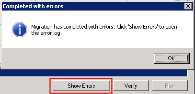
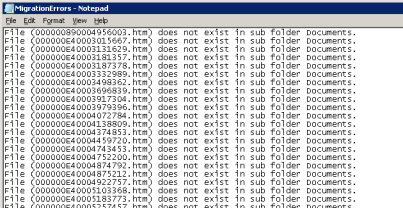
Click this button to view descriptions of the errors:
If errors have occurred, please save the error file and contact the New World ERP support center.
After completing these steps, you will need to run a clean index rebuild to make sure the search index reflects that all documents have been removed.
Running a clean index rebuild
The steps described below must be performed in the Content Manager client application.
To run a clean index rebuild, follow these steps:
- Navigate to Utilities > Advanced Support > Manage Indices.
- Click Rebuild All IDoc Types.
- Select the Delete Existing Index Files check box.
Following the migration and once Content Manager is turned on, make sure to revisit User Permissions, since Content Manager document permissions are different from File Storage permissions. (See “Managing User Permissions for Documents” in the Content Manager and Forms Administrator’s Guide.)
Purging File Storage Documents
After you have migrated your documents to Content Manager and have spent sufficient time determining that all of them have migrated properly and are functioning to your satisfaction, you have the option to run the following process to purgethe documents from the file storage server, freeing up space.
- Open the installer folder. An example of this folder name is {Install Drive}\Octopus\Applications\{Instance Name}\NWERP.TcmMigrationTool\19.1.0.1-2019_1\FileStoragePurge.Client. This folder contains the purge tool:
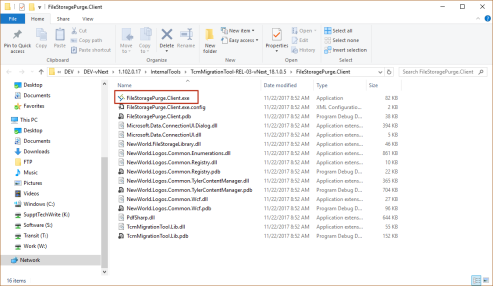
- Double-click the FileStoragePurge.Client.exe file. The File Storage Purge dialog will open:
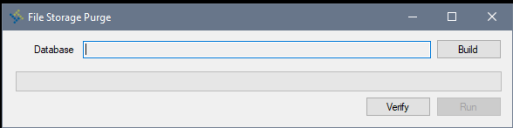
- Fill in the Database:
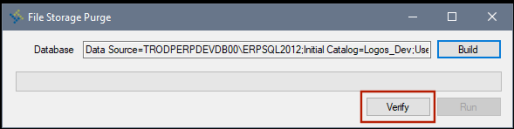
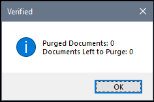
- Click Verify to query the database. As the query runs, a progress bar will show the percentage completed and the time remaining. At the end of the query process, a Verified pop-up will display, giving you a count of how many documents have been purged and how many are left to purge. If you have not previously run the purge process or stopped it in progress, the result of the query will show the number of documents purged as zero:
- Click OK to close the pop-up.
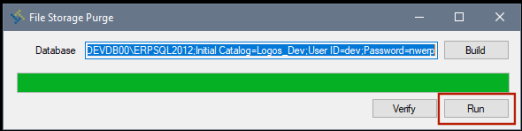
- After the query, the Run button will be enabled on the File Storage Purge dialog:
-
If you are satisfied with the results of the query and ready to run the actual purge, click the Run button.
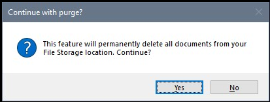
A Continue with purge? dialog will display, stating that all documents will be deleted from your file storage location and asking whether you want to continue:
-
If you want to continue, click Yes. The purge process will begin. During this process, a Stop button will be available next to the Verify button. Click this button if you want to stop the purge and resume it later.
When the purge has completed, a pop-up will display:
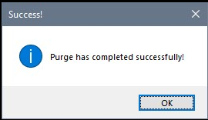
Note: If errors have occurred, please save the error file and contact the New World ERP support center.
SQL Tables Used During the Migration Process
New World ERP Database
The table “Suite.TcmDocumentMigration” stores which File Storage Service documents have been migrated and the date when each was migrated.
Content Manager Database
The table “dbo.Document” stores document header information, such as title, type, created/modified information, etc.
The table “dbo.DocumentData” stores all of the metadata for the documents.
The table “dbo.DocumentData2” stores the actual documents.