Employee Hours Entry
Human Resources > Payroll Hours > Centralized Hours Entry > Quick Entry > Employee
Most of the hours entry you do from here you also may do from Centralized Hours Entry, and vice-versa.
If the hours entry method is Quick Entry, you have the option to use an additional format for entering employee hours worked. Click Hours Entry Detail.
Entering Employee Hours
On the Employee Hours Entry page, select the employee whose hours you want to enter. If Hours Entry Mode is Quick Entry, the Employee Hours Entry page opens. If Hours Entry Mode is Detail Entry, the Hours Entry Detail page opens.
-
You also may open the Hours Entry Detail page by clicking the Hours Entry Detail button on the Employee Hours Entry page. The Employee Hours Entry page lists each work date and associated hours information for the selected employee. The employee's number and name are displayed to the right of the page title.
-
Edit information as needed. The minimum entries required are Work Date, Hours Code and Hours/Amount.
Select an Hours Code from the drop-down.
If the Hours Code type is Hourly, type the hours in the Hours/Amount field. The entry supports up to four decimal places.
If the Hours Code type is Other, type the dollar amount in the Hours/Amount field.
Click
 to open the Detail Hours Entry page for the associated work date. Click the same button on a blank row to open the Detail Hours Entry page in NEW mode.
To move from employee to employee without having to return to the Employee Hours page each time, use the Employee Name field. Click
 to move to the next employee in the batch,
  to move to the previous employee,
  to move to the last and
  to move to the first. When you click one of these buttons, any new information on the page saves automatically.
To delete a row of information, check the associated Delete box. The row deletes when you save the page.
-
To save the changed records to the database, click Save.
The following buttons also are available on this page. Click an image to find out what the button does.
-
 Customize
Click this button to customize the Employee Hours Entry page.
Check the Consolidate Hours/Other Pay Columns box to enable the Column 3 field and add a column of information. The system determines whether the hours code selected requires an hours or dollar amount entry.
Click in each column field to select a type of information to show on the Employee Hours Entry page.
After making your selections, click OK to save them.
-
New Page
Click this button if you have filled in all rows on the Employee Hours Entry page and need more.
For the following two buttons to be visible, all departments must be approved and imported into Centralized Hours:
-
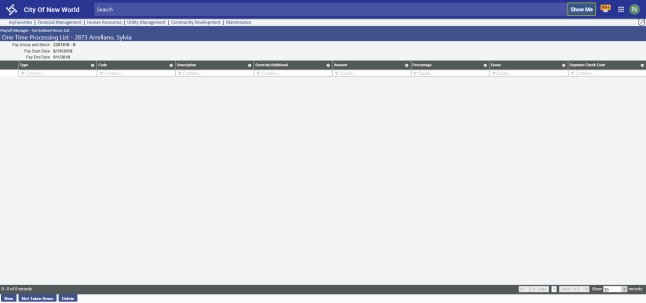
One-Time
Clicking this button opens the
One-Time Processing List page for the selected employee. -
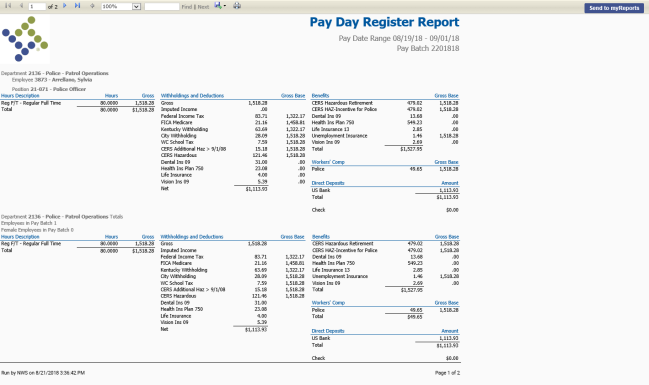
Pay Day Register
Clicking this button generates and displays the
Pay Day Register Report for the selected employee only.
If Detail Entry is selected as the Hours Entry Mode on the Employee Hours page, this page opens first when you select an employee.
This page offers another format for entering employee hours. The left side of the page functions as an inquiry list that displays the employee hours code for each work date in the pay batch. The right side of the page displays hour and pay amounts.
Clicking the plus symbol
 next to an employee number expands the list to display work dates and hours codes for the employee.
 -
- To enter new hours for the selected employee, click New. To edit hours for a particular work date, click the date in the Work Date column on the left side of the page. In either instance, the right side of the page is replaced with detail entry fields.
-
If you select a Separate Check code, all hours entries tied to that code process for the same separate check. While flat deductions are taken from the regular check, percentage-based deductions are taken from a separate check.
Note: To add or change a Separate Check code or the G/L Organization, you must be authorized in User-Based Security.
-
To save your entries and move to the next work date in the list, click Save/Next.
To save your entries and clear the controls for another work date, click Save/New.
To save your entries and edit hours for the previous work date, click Save/Prev.