Mass Account Import
Utility Management > New Account > Mass Account Import
A Mass Account Import button has been added to the New Account page:
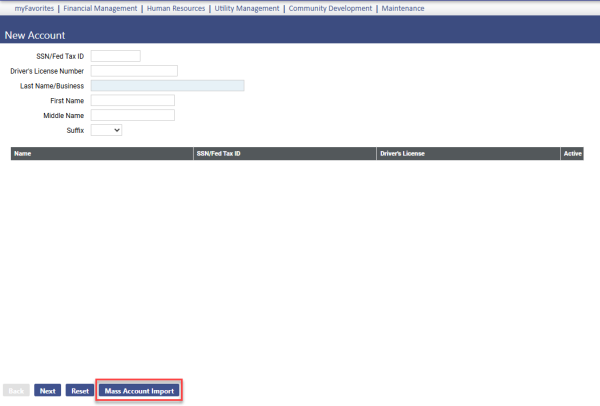
Click this button to begin the 5-step process of importing new utility accounts and optionally tying them to existing customers.
Note: For the Mass Account Import button to be available, the user needs permission to the Utility Account Import security component at Maintenance > new world ERP Suite > Security > Users > User Name > Permissions.
In step 1, enter the utility account defaults and customer defaults:
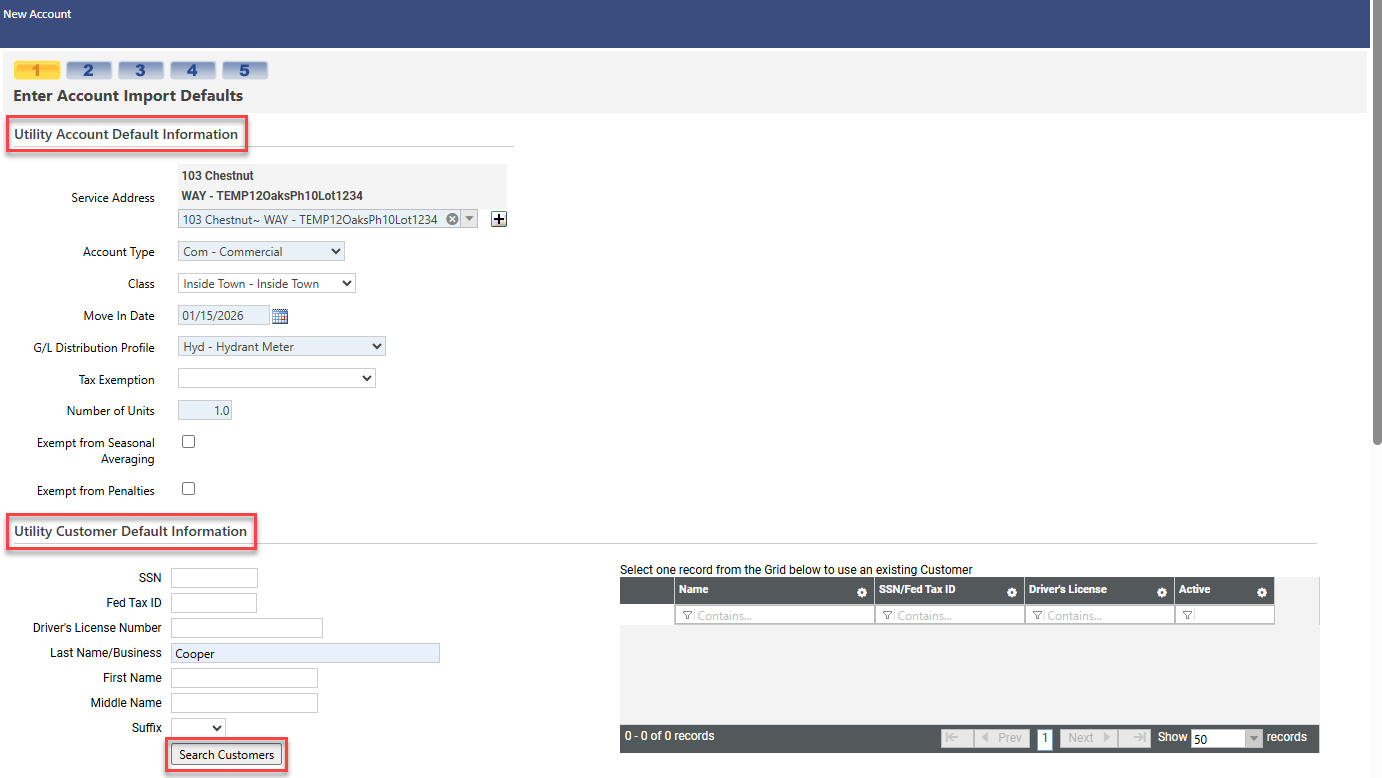
If you are not entering information for a new customer but want to tie an existing customer to a new account, enter the Last Name/Business of the existing customer and any other known information, and click the Select Customers button. The grid on the right loads with the closest customer matches:
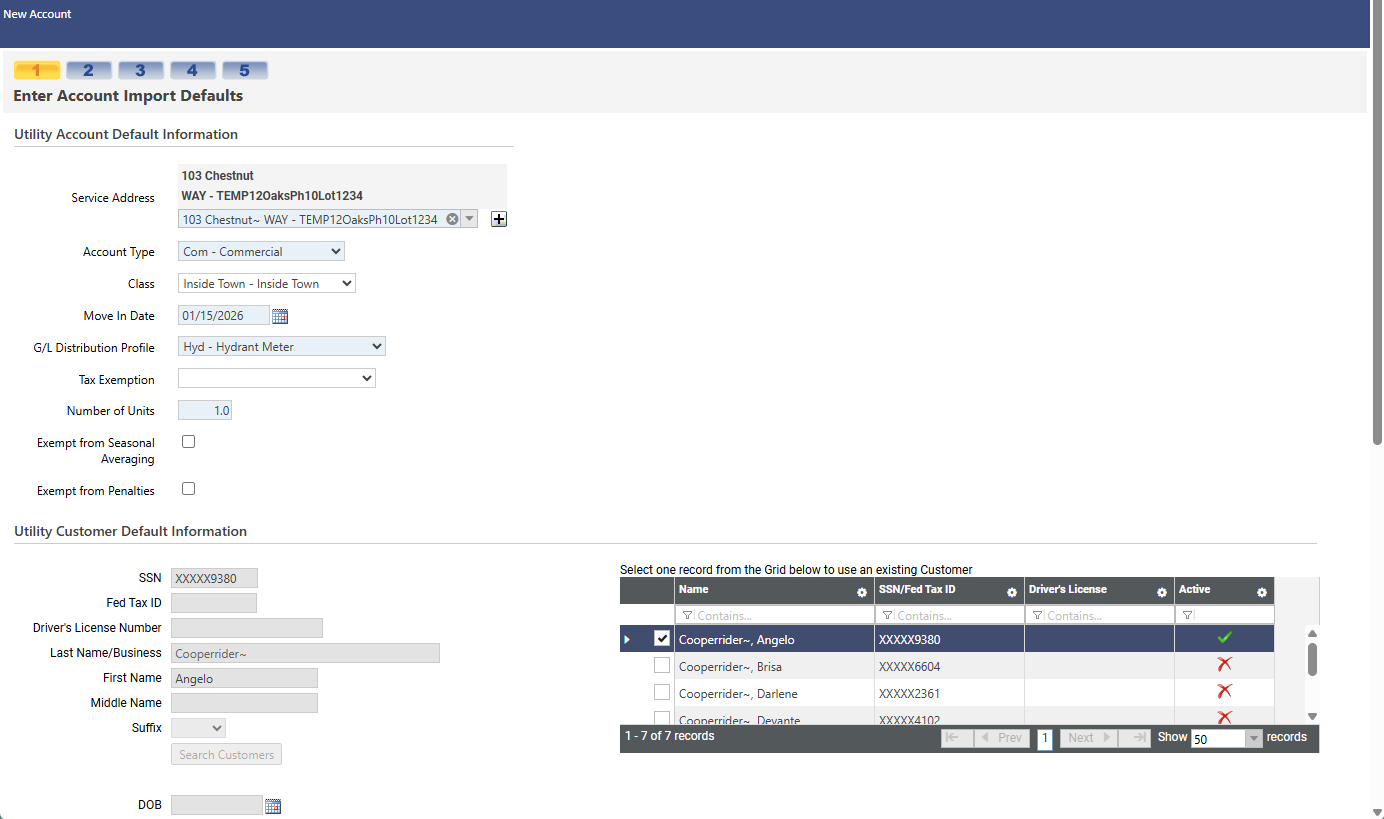
Mark the checkbox next to the customer match, and the fields load with the customer's information:
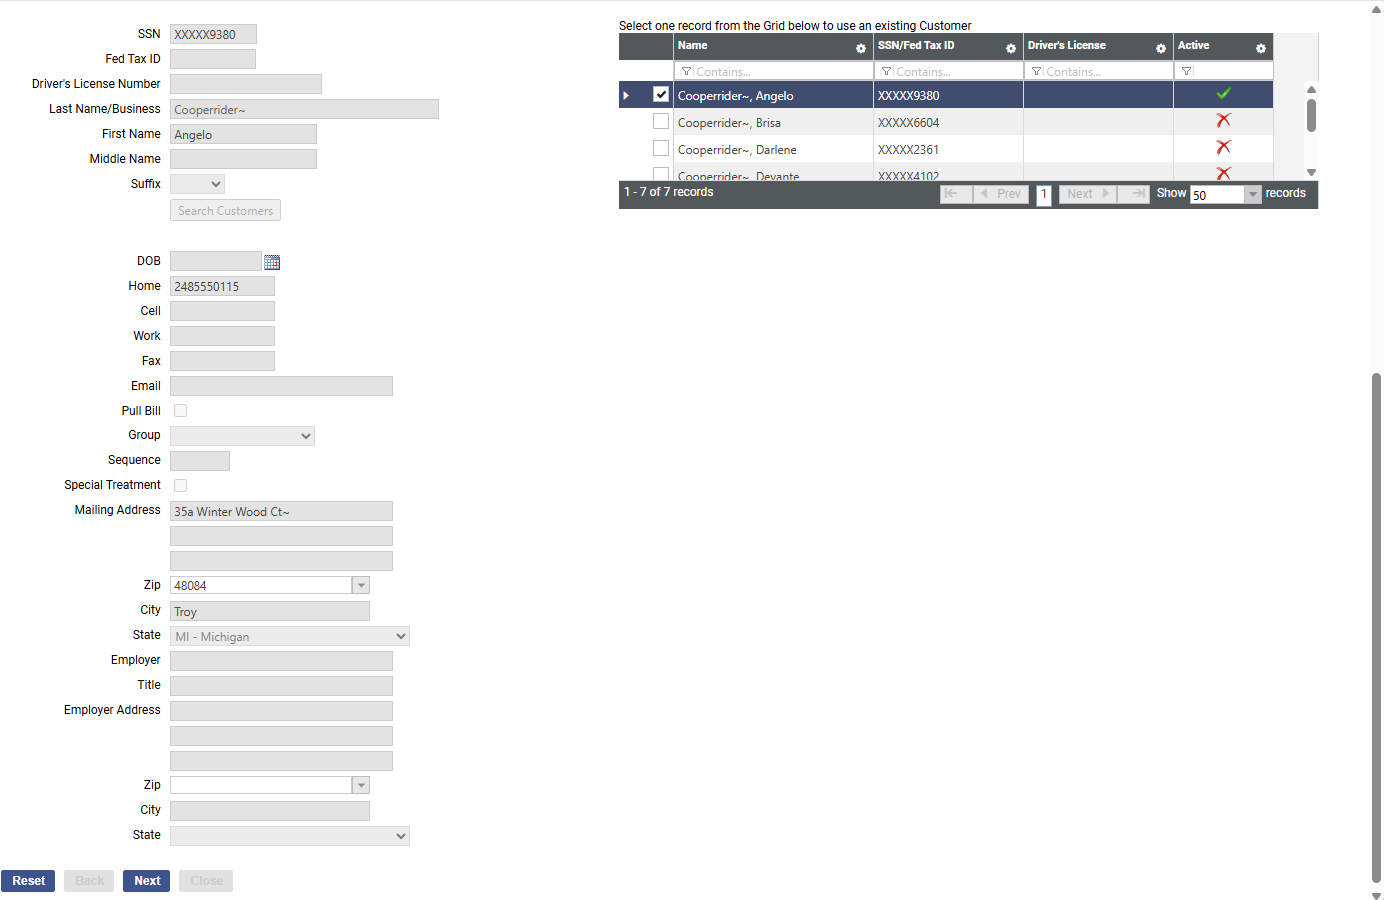
The fields are disabled since the information is not used; only the customer is tied to the new account.
Click Next to go to step 2, and select the .csv file containing the account(s) to import:
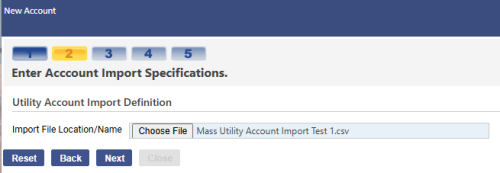
Note: The .csv file format must follow the format of the import template New World ERP provides.
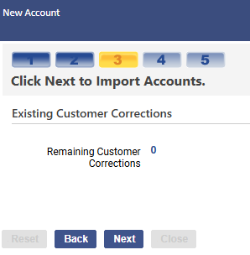
Click Next to go to step 3, Existing Customer Corrections. This step displays information for the Imported Customer and a grid containing possible matches of existing customers:
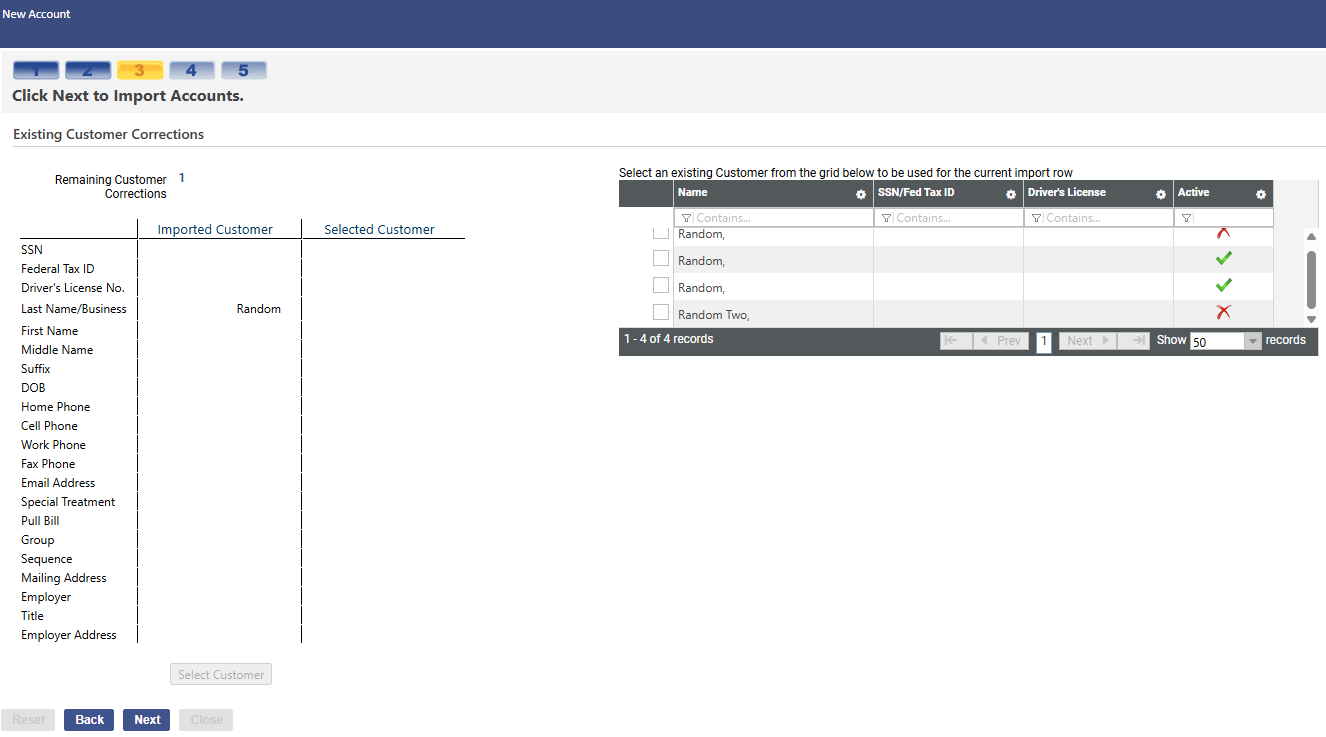
The import file includes a field named, Use Existing Customer; if the field is set to TRUE for any account in the import file, the account displays in the grid. Mark one you want to use, and click the Select Customer button. The customer's information fills the Selected Customer column:
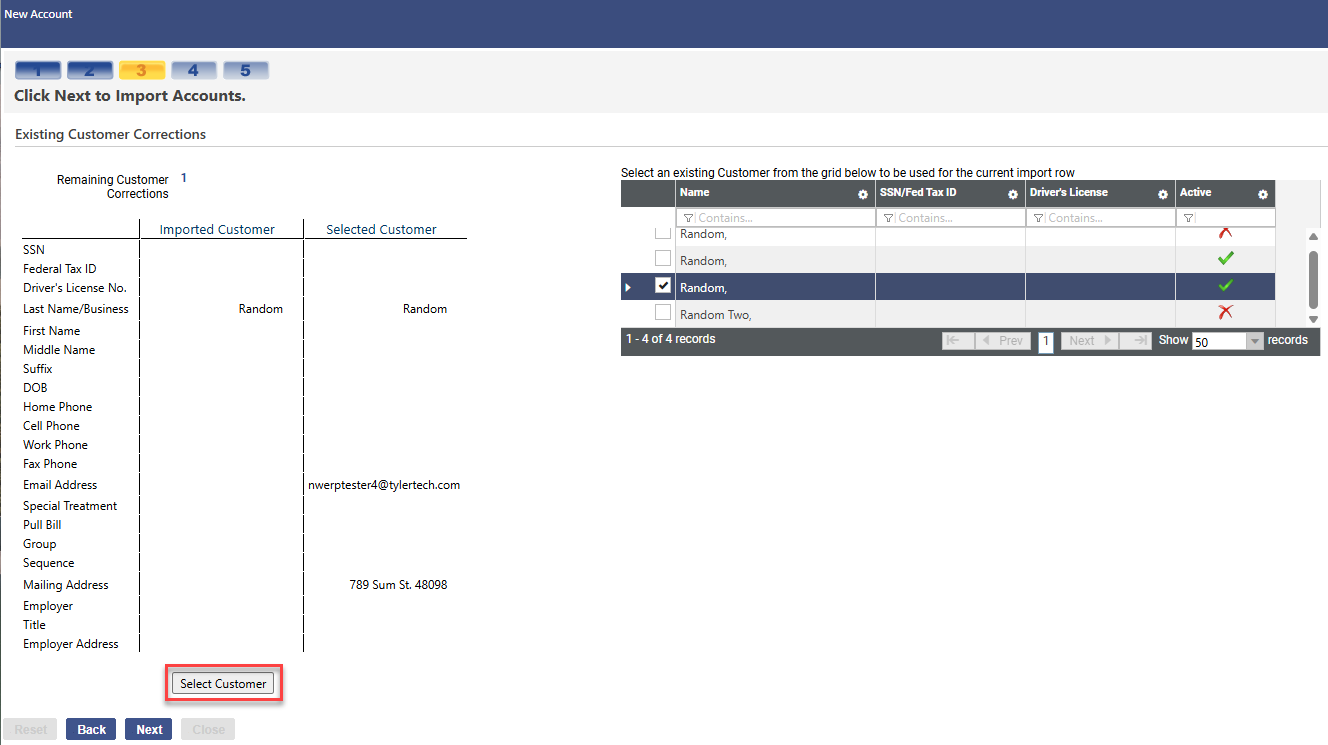
If the information looks correct, click the Select Customer button.
For every account with Use Existing Customer set to TRUE in the import file, continue to mark the applicable customer until the Remaining Customer Corrections shows a 0:
Click Next to go to step 4. This step displays the number of accounts processed, the number processed with errors, the number that will be imported and a grid containing the validation warnings and errors:
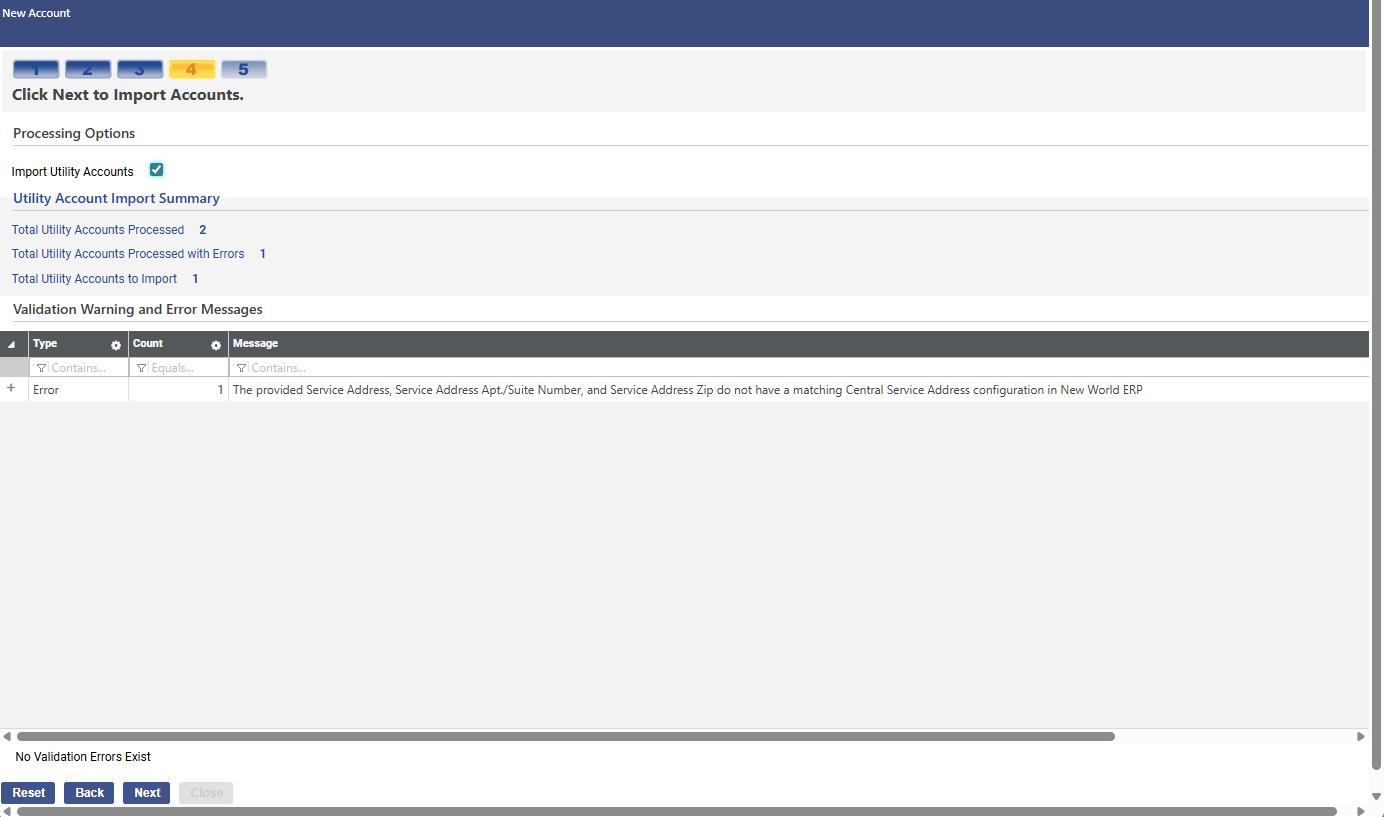
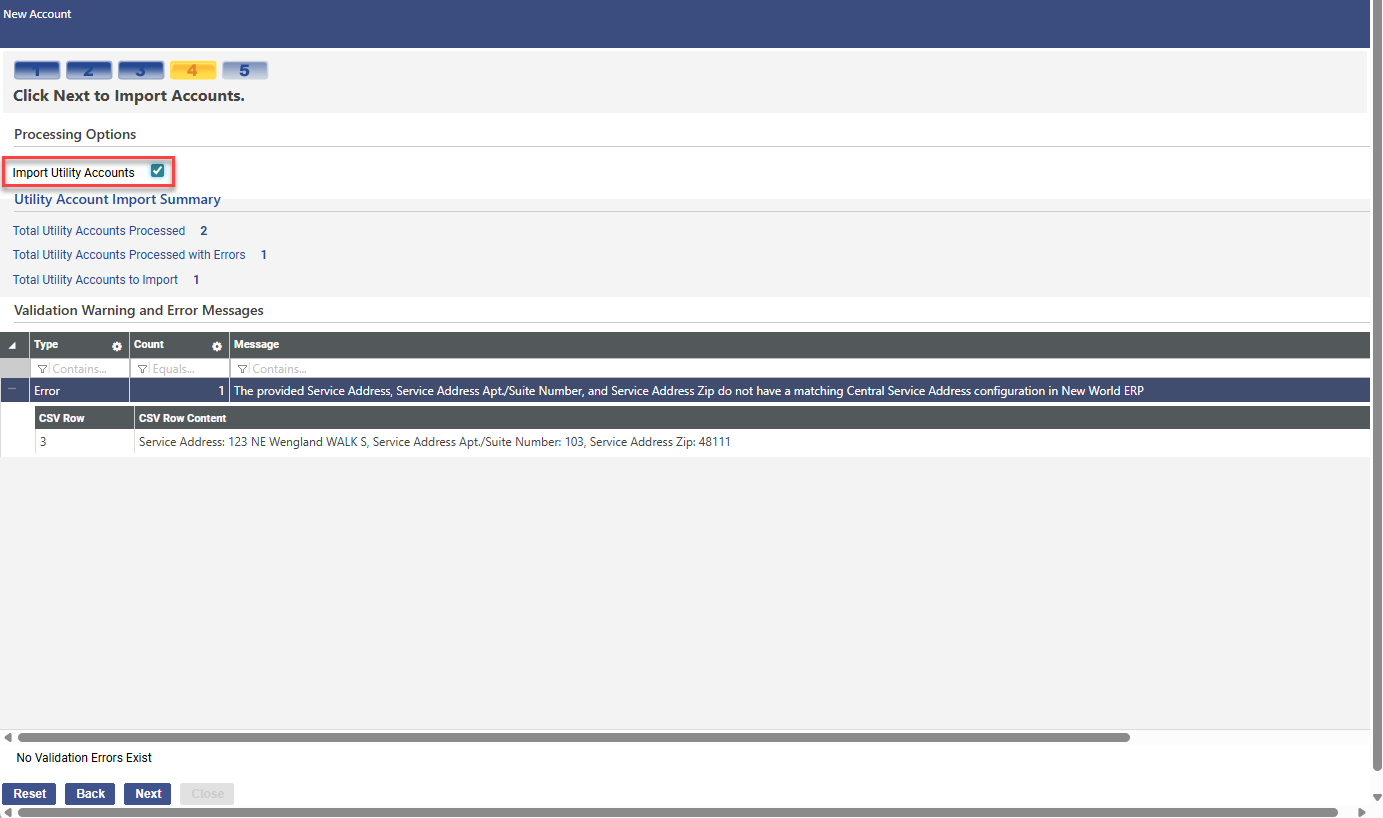
Each row in the grid corresponds to a warning or error record. Click the plus sign (+) to expand a row and view the details. If a record has multiple warnings/errors, they display as individual rows under the expanded row:
If you need to edit the .cvs file before importing, click the Back button to return to step 2 and re-select the edited file.
To run the import, mark the Import Utility Accounts checkbox in step 4, and click Next.
Step 5 displays the import confirmation:
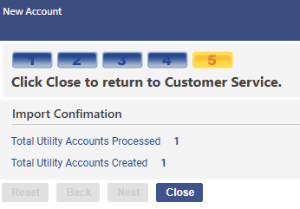
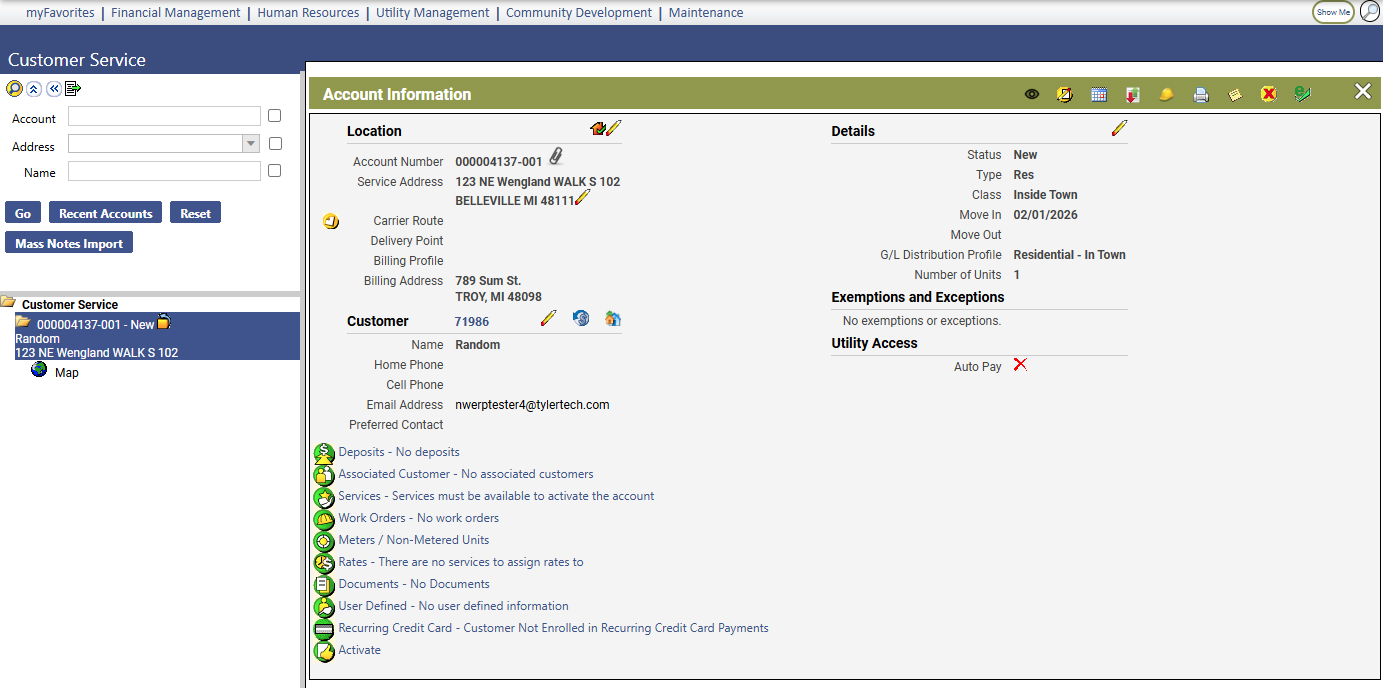
Click Close. The Customer Service page displays with the imported account(s) in the search results panel: